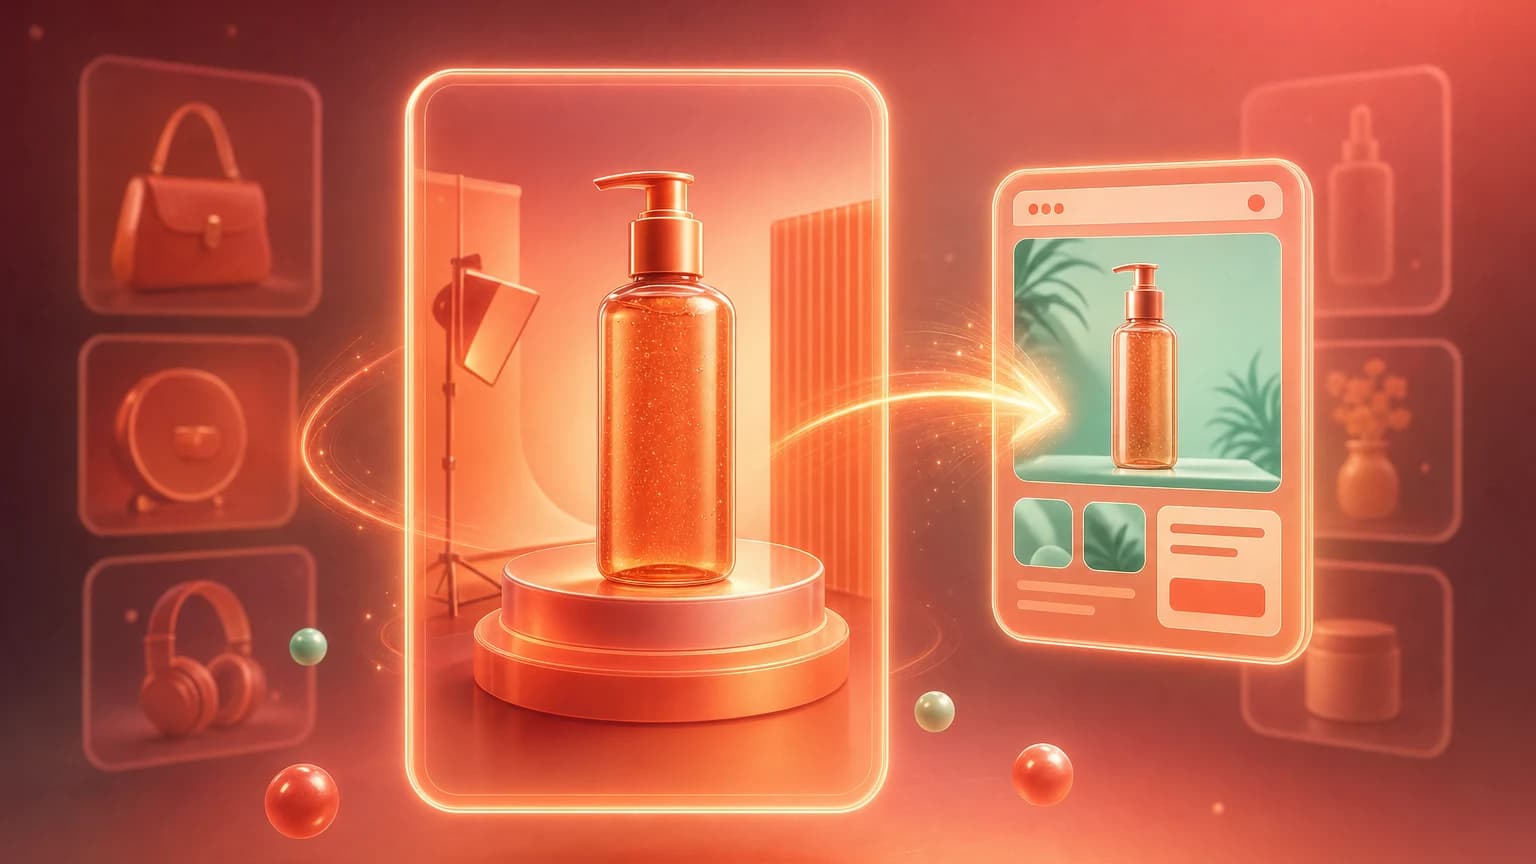
Six minutes is not a marketing line. We timed this end-to-end on three different Shopify stores. Phone in hand, blank PDP, six minutes later you have a complete page live. Here is the exact sequence.
Minute 0–1: capture
Place the product on a neutral surface near a window. Hold the phone level. Tap to focus. Take three shots — straight-on, slight 3/4, and one detail. You only need one to feed the pipeline; the others are insurance.
Minute 1–4: generate
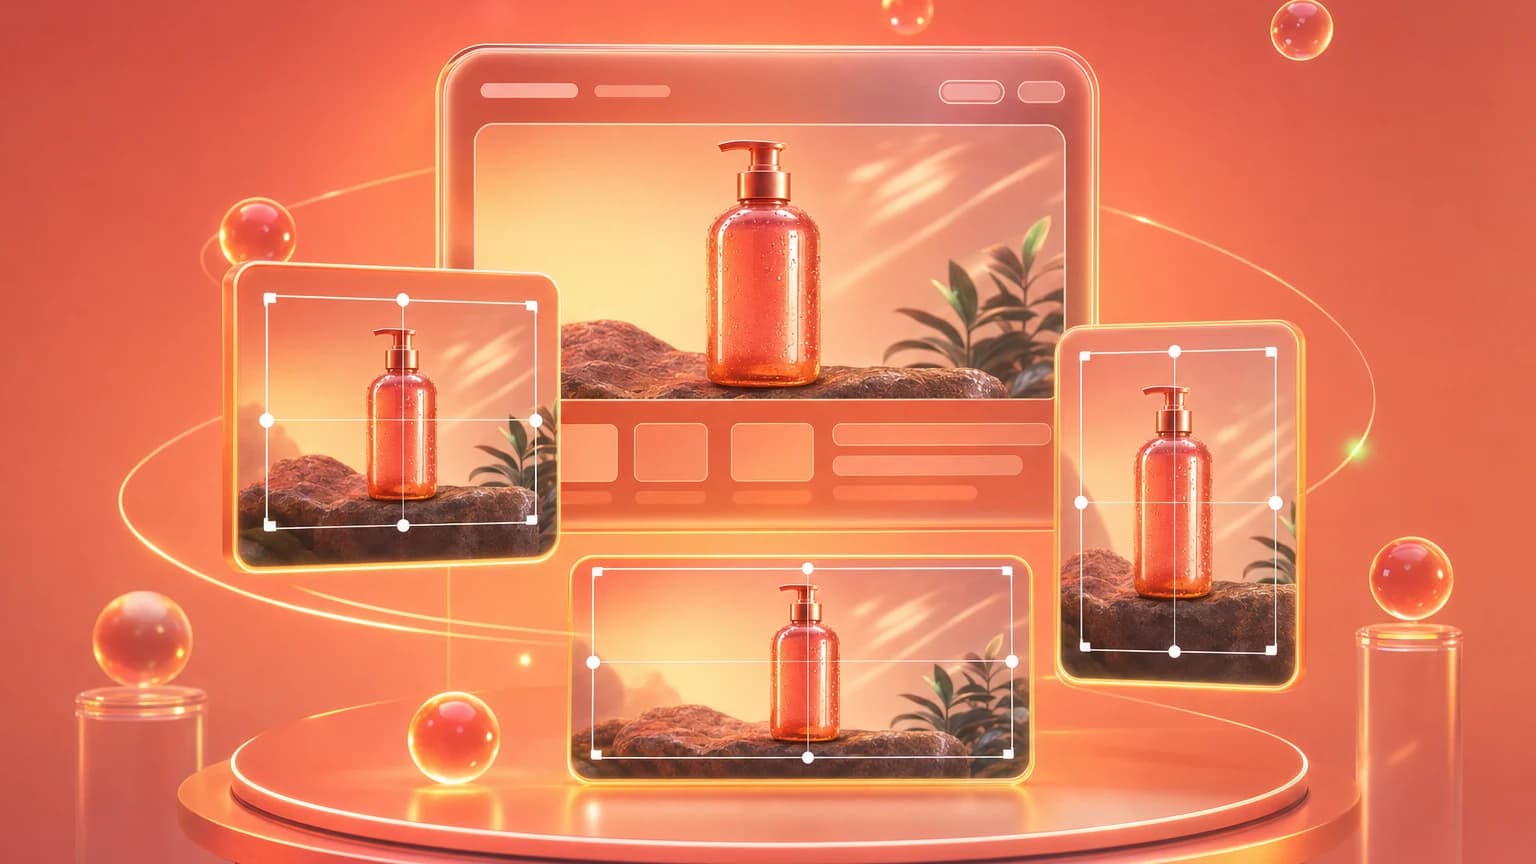
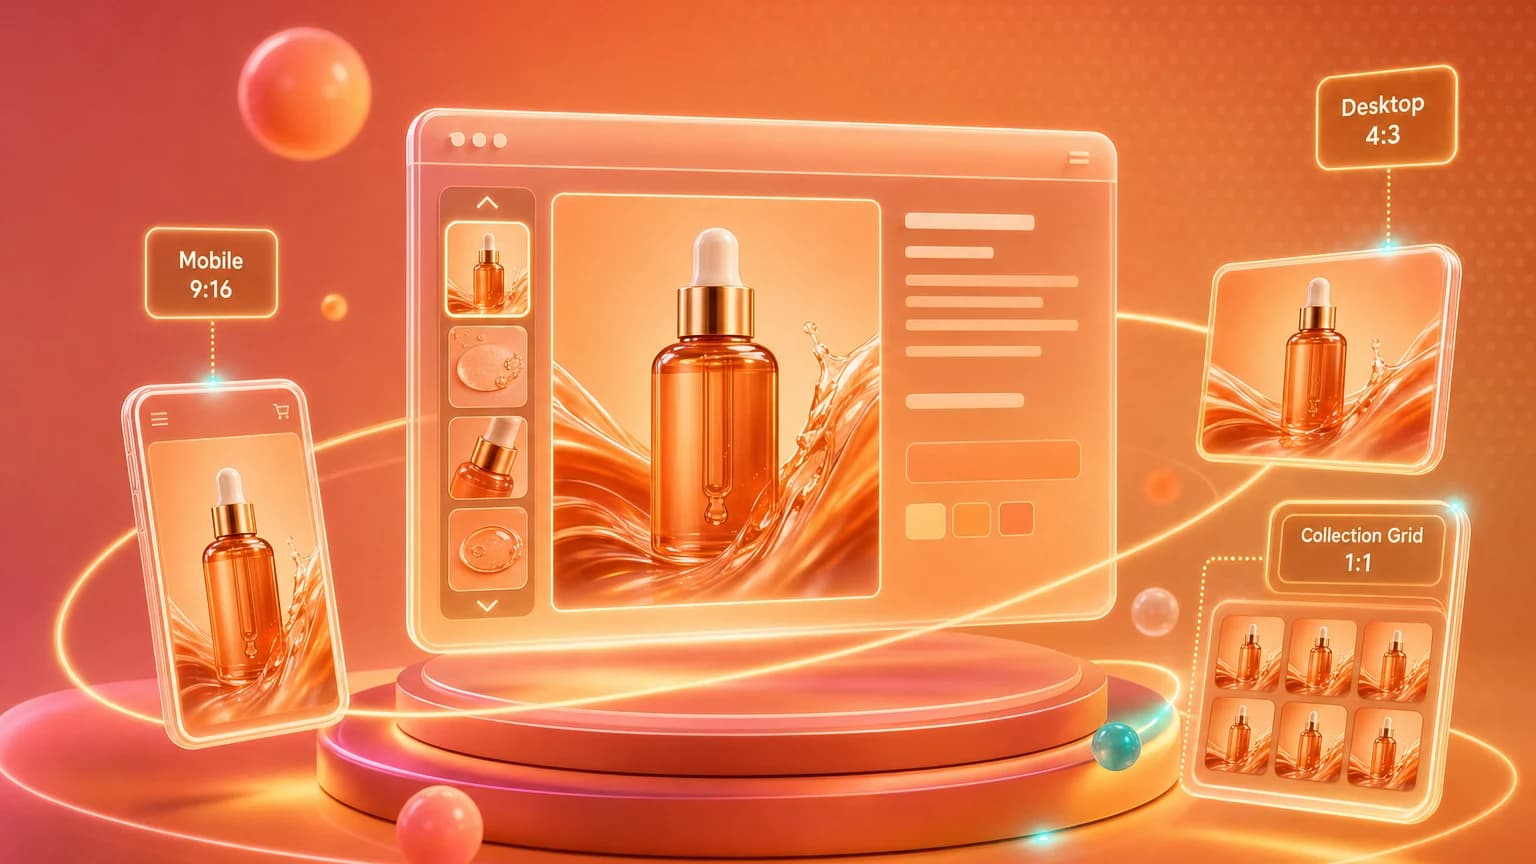
Upload the source to Shelfgen. Pick the Shopify preset. The pipeline auto-cuts the background, generates the four PDP variants (1:1 PDP, 4:5 collection, 16:9 lifestyle banner, 4:3 cart upsell), and runs each through compliance checks. Three minutes, no clicks.
Minute 4–6: publish
Download the zip. In Shopify admin, drag the PDP square into the main image slot, the lifestyle banner into the homepage section, and the gallery shots into the product gallery. Save. Refresh the storefront. Done.
The bottleneck has never been the camera. It's been everything that happens between the camera and the live PDP.
Try the workflow on your own product. 5 free AI credits, no card.
See how Shelfgen builds PDP, collection, banner, email, and social crops from one product photo.
Use the companion guide for square PDP images, portrait collection cards, and wide store banners.
Follow the help doc when you are ready to export and place images inside Shopify admin.