An AI background remover looks simple from the outside: upload a product photo, remove the background, download a clean image. For ecommerce sellers, the real job is more serious. The cutout becomes the source asset for Amazon main images, Shopify product cards, Google Shopping feeds, wholesale line sheets, ads, comparison graphics, and seasonal campaigns. If the edge is wrong, the shadow is fake, or the product color changes, that mistake follows the SKU into every channel.
Before writing this guide, we reviewed the current top-ranking pages for background remover and product background removal searches. The strongest pages usually explain the basic three-step workflow, show before-and-after examples, and emphasize speed. That is useful, but sellers need a deeper standard. A marketplace image is not only a graphic. It is evidence. It should help the buyer recognize the exact item they will receive, and it should meet the rules of the channel where it is uploaded.
What the top pages get right
The first thing top-ranking background remover pages get right is clarity. They tell users that a removed background can create a transparent PNG, a white-background product image, or a reusable asset for a new scene. They also show the practical value: faster listings, cleaner catalogs, and fewer manual Photoshop tasks. Those points are true, and they are exactly why background removal is usually the first AI image task a seller should operationalize.
Where many pages stay shallow is quality control. They rarely talk about edge review, transparent materials, color drift, product fill, or marketplace-specific differences. A necklace chain, fuzzy fabric, glossy bottle, white sneaker, glass jar, and black backpack all fail in different ways. A serious seller workflow has to handle those differences. Otherwise, the tool saves time at upload and creates hidden costs later through rejected images, confused buyers, and extra support tickets.
When background removal matters
Use background removal when the source photo has a distracting environment, inconsistent lighting, messy props, a colored wall, or a tabletop that makes the catalog feel uneven. The clean cutout becomes a neutral master file. From that master you can export a white main image, place the product into a lifestyle scene, build a product infographic, or prepare a batch of consistent thumbnails for a collection page.
The use case changes the output. For Amazon, the main image usually needs to be product-forward and rule-conscious. Amazon's seller guidance emphasizes a pure white main image, no extra text or graphics on the main image, and a product that fills enough of the frame to be clear. Google Merchant Center's image_link guidance similarly pushes merchants toward images that clearly show the product being sold. On your own Shopify store, you have more creative freedom, but the cutout still needs to survive thumbnails, mobile cards, and zoom.
There are also times when removing the background is the wrong first move. If the product is handmade and the environment proves scale or craft, keep at least one authentic source photo in the gallery. If the product is reflective, transparent, or very pale, a flat cutout may erase important shape cues. If the source photo has mixed lighting, fix exposure and white balance before you remove the background so the product does not look pasted into every later scene.
A good cutout is invisible. Buyers should notice the product, not the edit.
The EEAT review pass
For EEAT, the background removal workflow should prove experience, expertise, authoritativeness, and trustworthiness inside the process. Experience means you review the output at the size buyers will actually see it: search thumbnail, product card, gallery image, and zoom. Expertise means you know which product types need special handling. Authority means your rules come from marketplace guidance and real catalog operations, not from an attractive demo image. Trust means the final image does not misrepresent size, color, included accessories, or condition.
Run four checks after every cutout. First, edge integrity: look at hairline details, fabric fibers, handles, straps, and transparent parts against both dark and light backgrounds. Second, color truth: compare the output to the original source and reject images where the product becomes warmer, cooler, glossier, or more saturated than the real item. Third, shadow logic: a white-background main image can use a very soft natural shadow, but it should not look like the product is floating or sitting on a fake floor. Fourth, product fill: zoom out until the image is thumbnail-sized and confirm the SKU is still recognizable.
This review pass matters because AI cutouts can be confident and wrong. The tool may simplify a complicated strap, soften a hard edge, erase a cable, clip a transparent lid, or leave a halo around pale packaging. None of those errors look dramatic at full size, but they create a lower-trust image in a listing. Sellers should treat the cutout as a production asset, not a throwaway export.
How to use Shelfgen
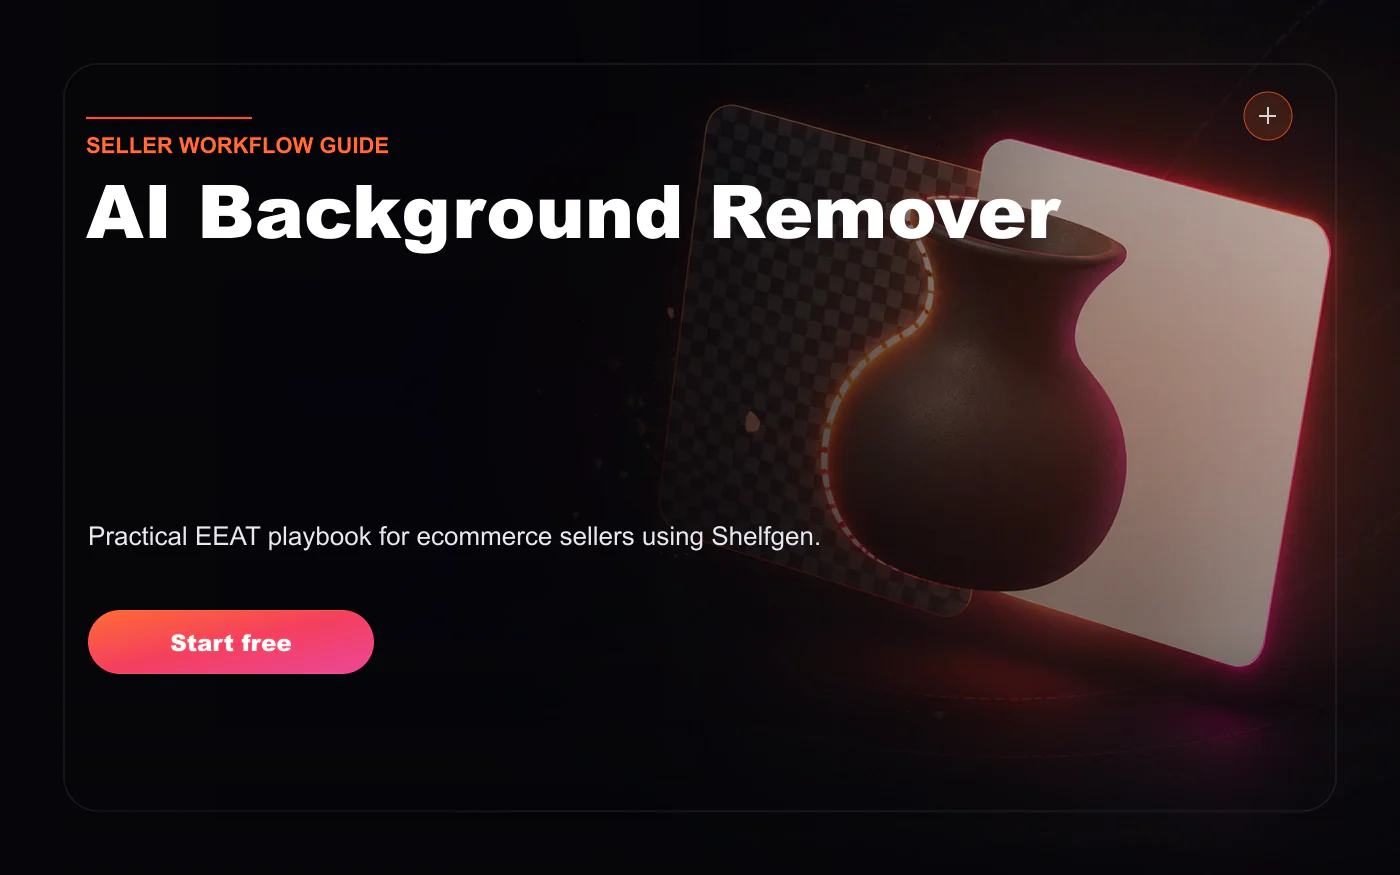
In Shelfgen, start with the clearest source photo you have. The ideal source is sharp, front-facing or three-quarter, evenly lit, and not cropped too tightly. Upload the image, choose AI Background Remover, and generate a clean transparent or white-background output. If the first output is strong, save it as the SKU master. If the edge needs work, regenerate before using that image as the base for other tasks.
Next, export role-specific versions. Create a white-background main image for marketplaces, a transparent PNG for infographics, and a lightly shadowed version for your store grid if your theme looks too flat without depth. Name the files by SKU and role, such as SKU-104-main-white.webp, SKU-104-transparent.png, and SKU-104-grid-shadow.webp. Boring filenames are an underrated operational advantage when you have to upload hundreds of assets.
Once the master cutout is approved, use it to feed the next tasks. Product Background Changer can place the same item into brand scenes. Product Infographic Maker can add benefit callouts around the clean asset. Batch Product Image Editor can repeat the approved treatment across similar SKUs. This sequence keeps creative work anchored to a reviewed source, which is safer than asking a model to reinvent the product for every image.
If you work with a team, add a simple approval note to the asset before it becomes the master. Record who reviewed it, which source file it came from, and which channels it is cleared for. This may sound heavy for a single image, but it prevents a common catalog problem: one person downloads a pretty draft, another person uploads it to a marketplace, and nobody remembers whether the edge, color, or product fill was approved. A background remover becomes more trustworthy when its outputs are traceable.
Mistakes to avoid
- Do not remove the background from a low-resolution source and then upscale the mistake across your catalog.
- Do not use one cutout for every channel without checking crop, product fill, and marketplace rules.
- Do not accept halos around white packaging, pale fabric, or transparent glass; those halos become obvious on dark storefront themes.
- Do not let AI repair missing product detail unless the repaired detail matches the real item.
- Do not overwrite the original source photo. Keep original, cutout master, and final exports separate.
A common operational mistake is treating background removal as a one-click cleanup step performed after the listing is otherwise finished. Better sellers move it earlier. They create a clean product master, review it once, and then build every downstream visual from that approved file. The catalog becomes easier to refresh because each new seasonal background or ad crop starts from a known-good asset.
Final checklist
Before you upload, open the image on a dark background, a white background, and the actual listing page where it will appear. Check that product edges are clean, the product is centered, color matches the source, shadows are believable, and the crop leaves enough safe space for platform thumbnails. Then download the final asset in the correct format. Use WebP for site speed where your storefront supports it, PNG for transparent workflows, and high-quality JPEG or WebP for marketplace uploads depending on the channel's accepted formats.
If the image will be reused in ads or wholesale documents, run one more review at a larger size. Marketplace thumbnails hide small defects, but a retail buyer or ad creative review may reveal uneven edges, clipped handles, or a halo that did not matter in a small card. Approve the asset for the highest-visibility use case first, then derive smaller exports from it.
The best AI background remover workflow is not about making the background disappear. It is about making the product easier to trust. When the edit is clean, accurate, and repeatable, sellers can move faster without making the catalog feel synthetic. That is the standard Shelfgen is built around: remove the friction, keep the truth, and turn one source photo into assets your buyers and marketplaces can understand immediately.
Upload one source photo, create a clean marketplace-ready cutout, and sign in to save every export to your catalog workflow.
See the full Amazon image pack: main image, secondary slots, A+ hero, dimensions, and compliance checks.
Review the rule-by-rule checklist before submitting main and secondary images.
Use this help article when a main image needs a fast compliance repair.